Showing posts with label recipe. Show all posts

Saturday, December 13, 2014

25 Last Minute DIY Gifts


Christmas is near and it finds some of us scrambling!

Did you know, I've been sharing lots of gift ideas over on the blog Facebook page? Give me a like and see more every day!


Here are a few of my favorites! Enjoy! >>TWEET THIS<<

1.
Double Braided Scarf Tutorial
from Put Up Your Dukes


2.
Arm Knit Scarf & Cowl

Here are two I've made. In the red and gray one, I added a bit of sparkle by
tying metallic embroidery thread onto the yarn.
For the cowl I used two skeins of chunky yarn and
doubled the yarn as I worked it. The result,
a  very thick, comfy cowl!

Takes me half an hour, and I'm a beginner!


3.
Barn wood + Stencils + Paint =
AWESOME GIFT!!!
from 2 Crafty 4 My Skirt


{photo credit}
SEE TUTORIAL HERE


4.
Tea Wreath
from Kojo Designs

All you need for this is cardboard, paper, hot glue and clothespins!
Add tea bags and you are sure to warm the heart
of your favorite tea drinker!
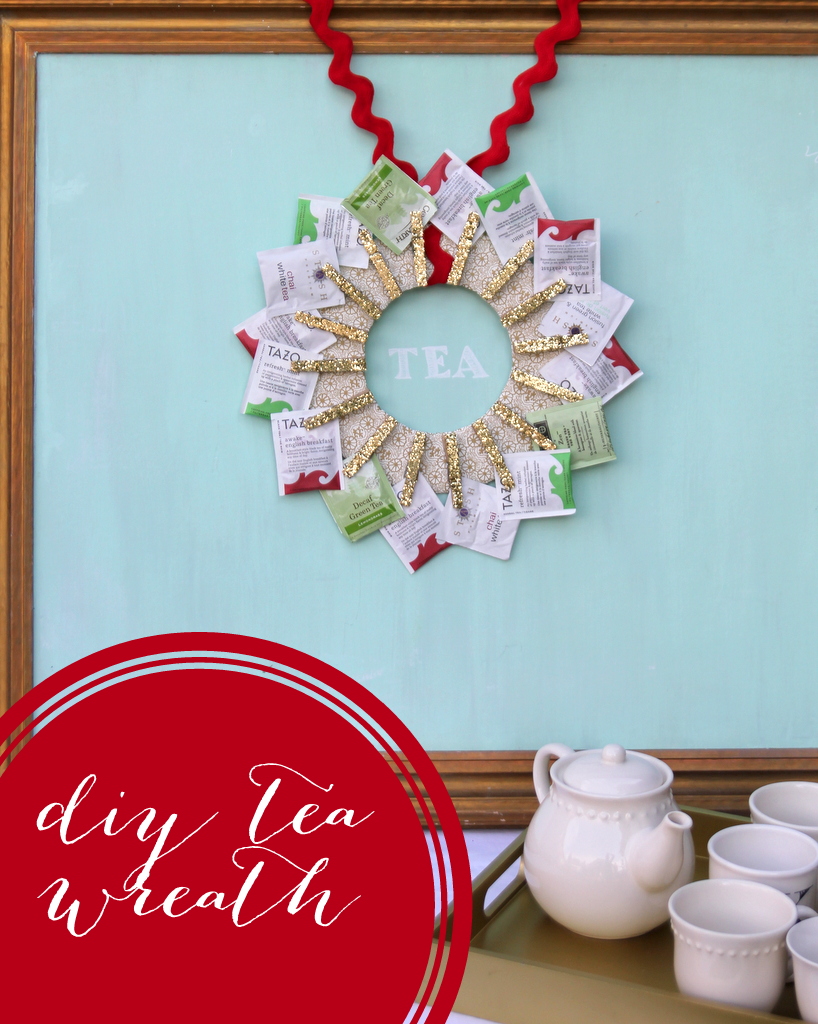
diy tea wreath handmade gift idea

{photo credit}
SEE TUTORIAL HERE


5.
Crocheted Ear Warmer with Flower
from Frayed Knot

DSC_4177 copy copy

{photo credit}
FREE PATTERN and TUTORIAL


6.
Monogrammed Tote Bags
from Sweet T Makes Three

These would make awesome gift bags!
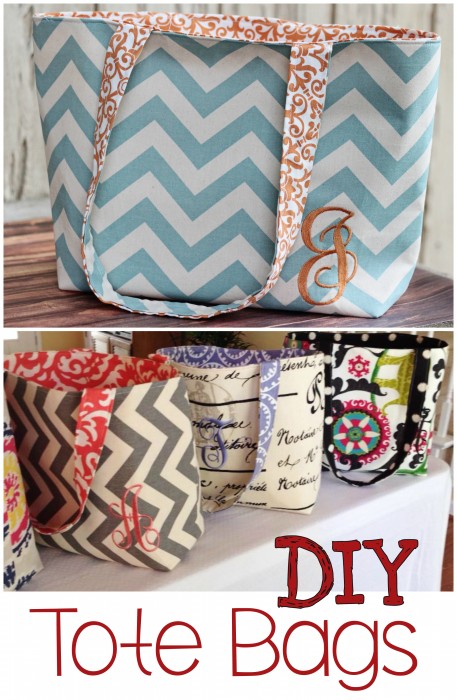
DIY Tote Bags - These cute handbags make a great beginner sewing project. #crafts #diy


7.
Felt Flower Scarf 

I'd have to hot glue a few pearls on this to spice it up.
So cute!


8.
Rice Heating Pad

Finally one that keeps the rice in place!


9.
Homemade Bath Salts
from The Idea Room
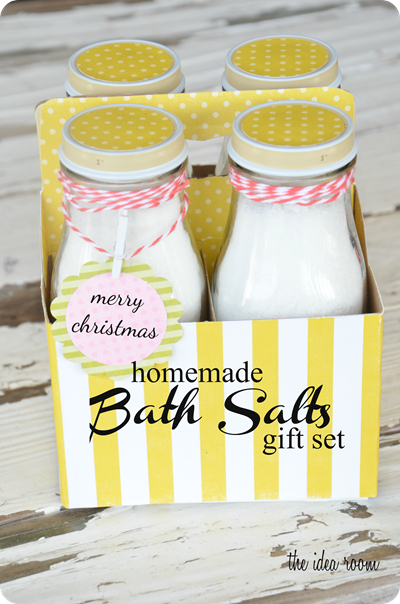
how-to-make-bath-salts

{photo credit}
SEE RECIPE and TUTORIAL HERE
Bonus: Get FREE PRINTABLE labels when you
'like' The Idea Room on Facebook. (link in post)


10.
Cinnamon Honey Butter
from Tidy Mom

Gift your neighbors with a warm loaf of bread and this stuff....
drooling now....
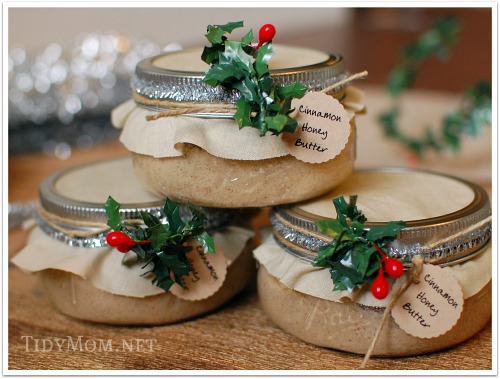
Cinnamon Honey Butter Jars

{photo credit}
SEE RECIPE and TUTORIAL HERE

11.
5 Baked Gifts in a Jar Recipes
all with FREE PRINTABLE labels and baking directions!
from Cul-de-sac Cool
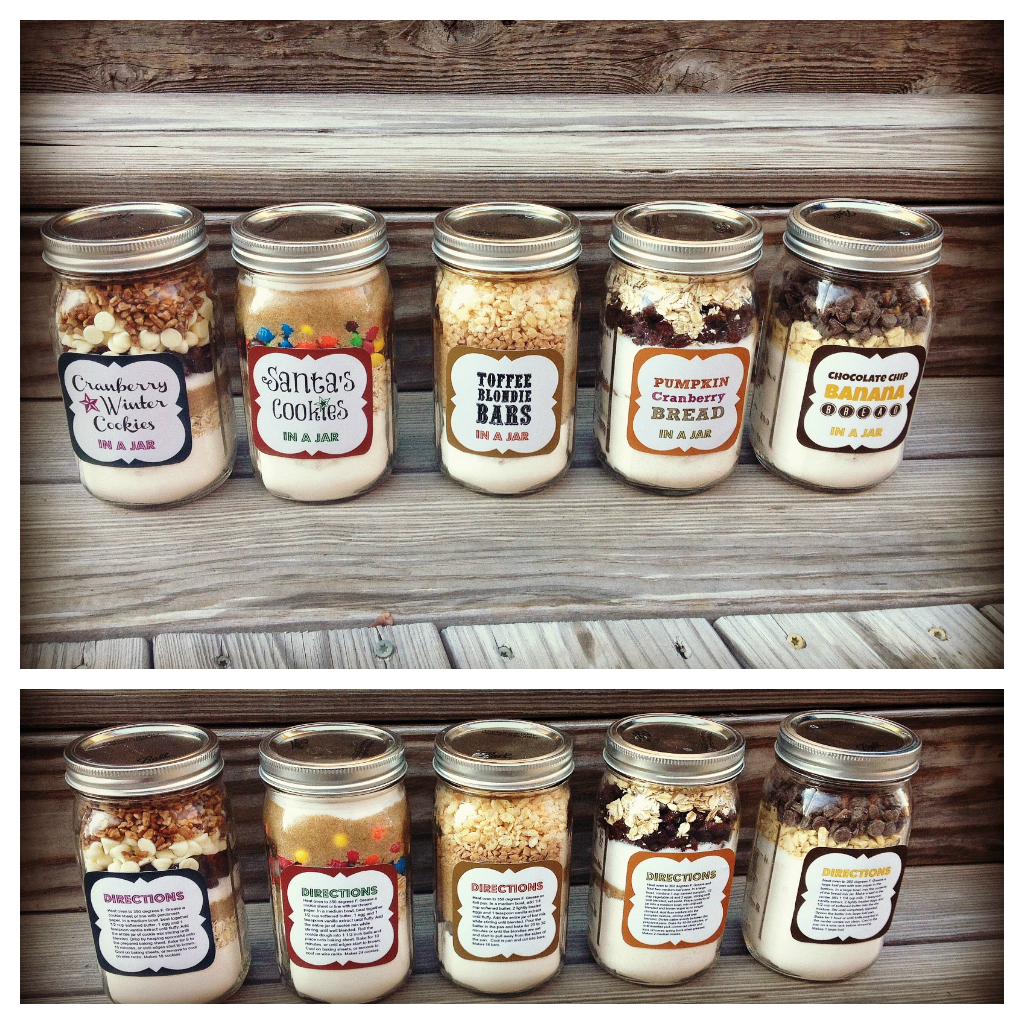
{photo credit}
SEE RECIPES with FREE PRINTABLE LABELS HERE 


12.
Homemade Cinnamon Vanilla Sugar Scrub
from Tidy Mom
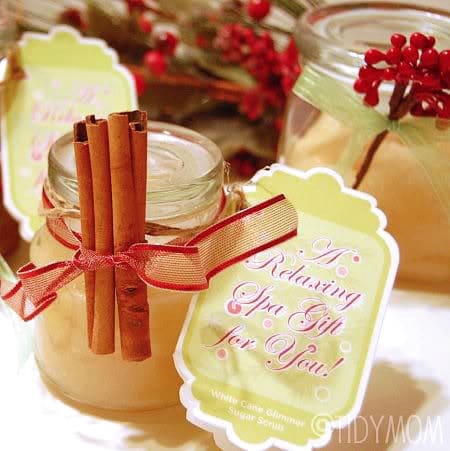


{photo credit}
SEE RECIPE and FREE PRINTABLE LABEL HERE

13.
Homemade Apple Butter
(crock pot recipe)
from My Baking Addiction

Post image for Slow Cooker Apple Butter

{photo credit}
SEE RECIPE HERE


14.
Snowman Hot Cocoa Mix
from Nothing But Country


A darling twist to the traditional cocoa mix in a jar!
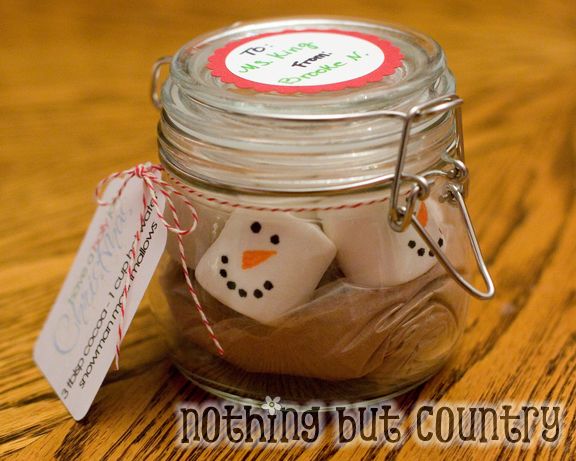


{photo credit}
SEE RECIPE and FREE PRINTABLE TAGS HERE


14.
Printable Names of Christ Ornaments
from Today's Fabulous Finds

Gift a few as a set or a gift topper, keep the rest yourself!


{photo credit}
SEE FREE PRINTABLE and TUTORIAL HERE


15.
Photo Pillows
from A Pocket Full of Whimsy

These are a keepsake, for sure! If you have a printer, freezer paper,
material, a photo and an hour or two...you have a pillow!
Great gift for grandparents!


{photo credit}
SEE TUTORIAL HERE


16.
DIY Mason Jar Soap Pump
and Natural Foaming Soap
from The Homesteady

DIY mason jar foaming soap pump from Infinite Style

{photo credit}
SEE TUTORIAL HERE

17.
Personalized Cutting Board
idea from 3D Carving on Etsy

This would be a priceless gift using your own handwriting, then burn over it.
Or scan your mom or grandmothers old recipes and burn into the back of cutting boards.


{photo credit}
No tutorial. Just inspiration!
Could use family surname, initials, bible verse, child's hand print...endless possibilities!


18.
Crochet Boot Cuffs Pattern
from Domestic Bliss Squared
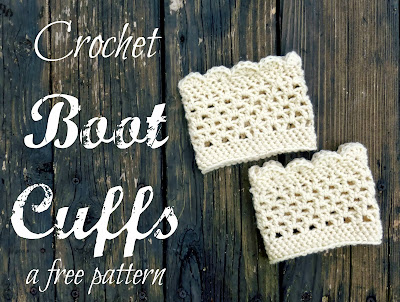
free lacy scalloped crochet boot cuff pattern

{photo credit}
SEE FREE PATTERN HERE


19.
Simple Crocheted Scarf Pattern
from Make and Takes
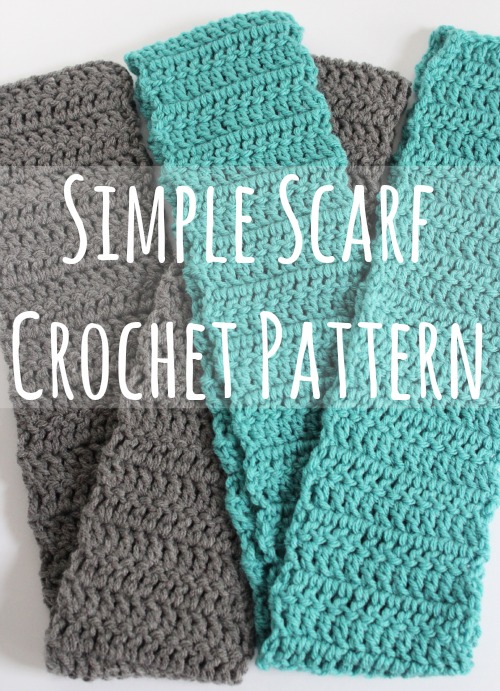
Simple Scarf Crochet Pattern makeandtakes.com

{photo credit}
SEE FREE PATTERN and TUTORIAL HERE

20.
Homemade Root Beer BBQ Sauce
and printable label
from A Mom's Take

For the grill master!
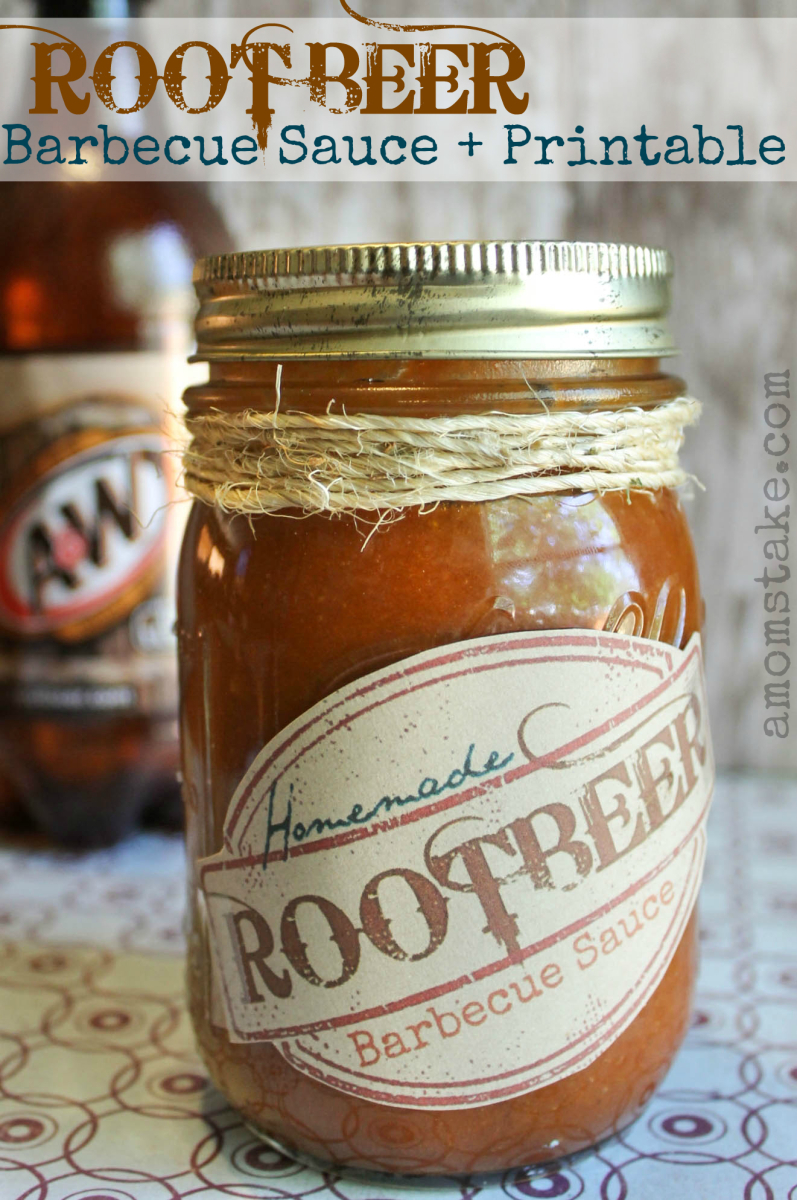
Root Beer Barbecue Sauce

{photo credit}
SEE RECIPE and FREE PRINTABLE LABEL HERE


21.
Christmas Candy Trains
from We're Calling Shenanigans

These would be fun gifts or gift toppers for all ages!
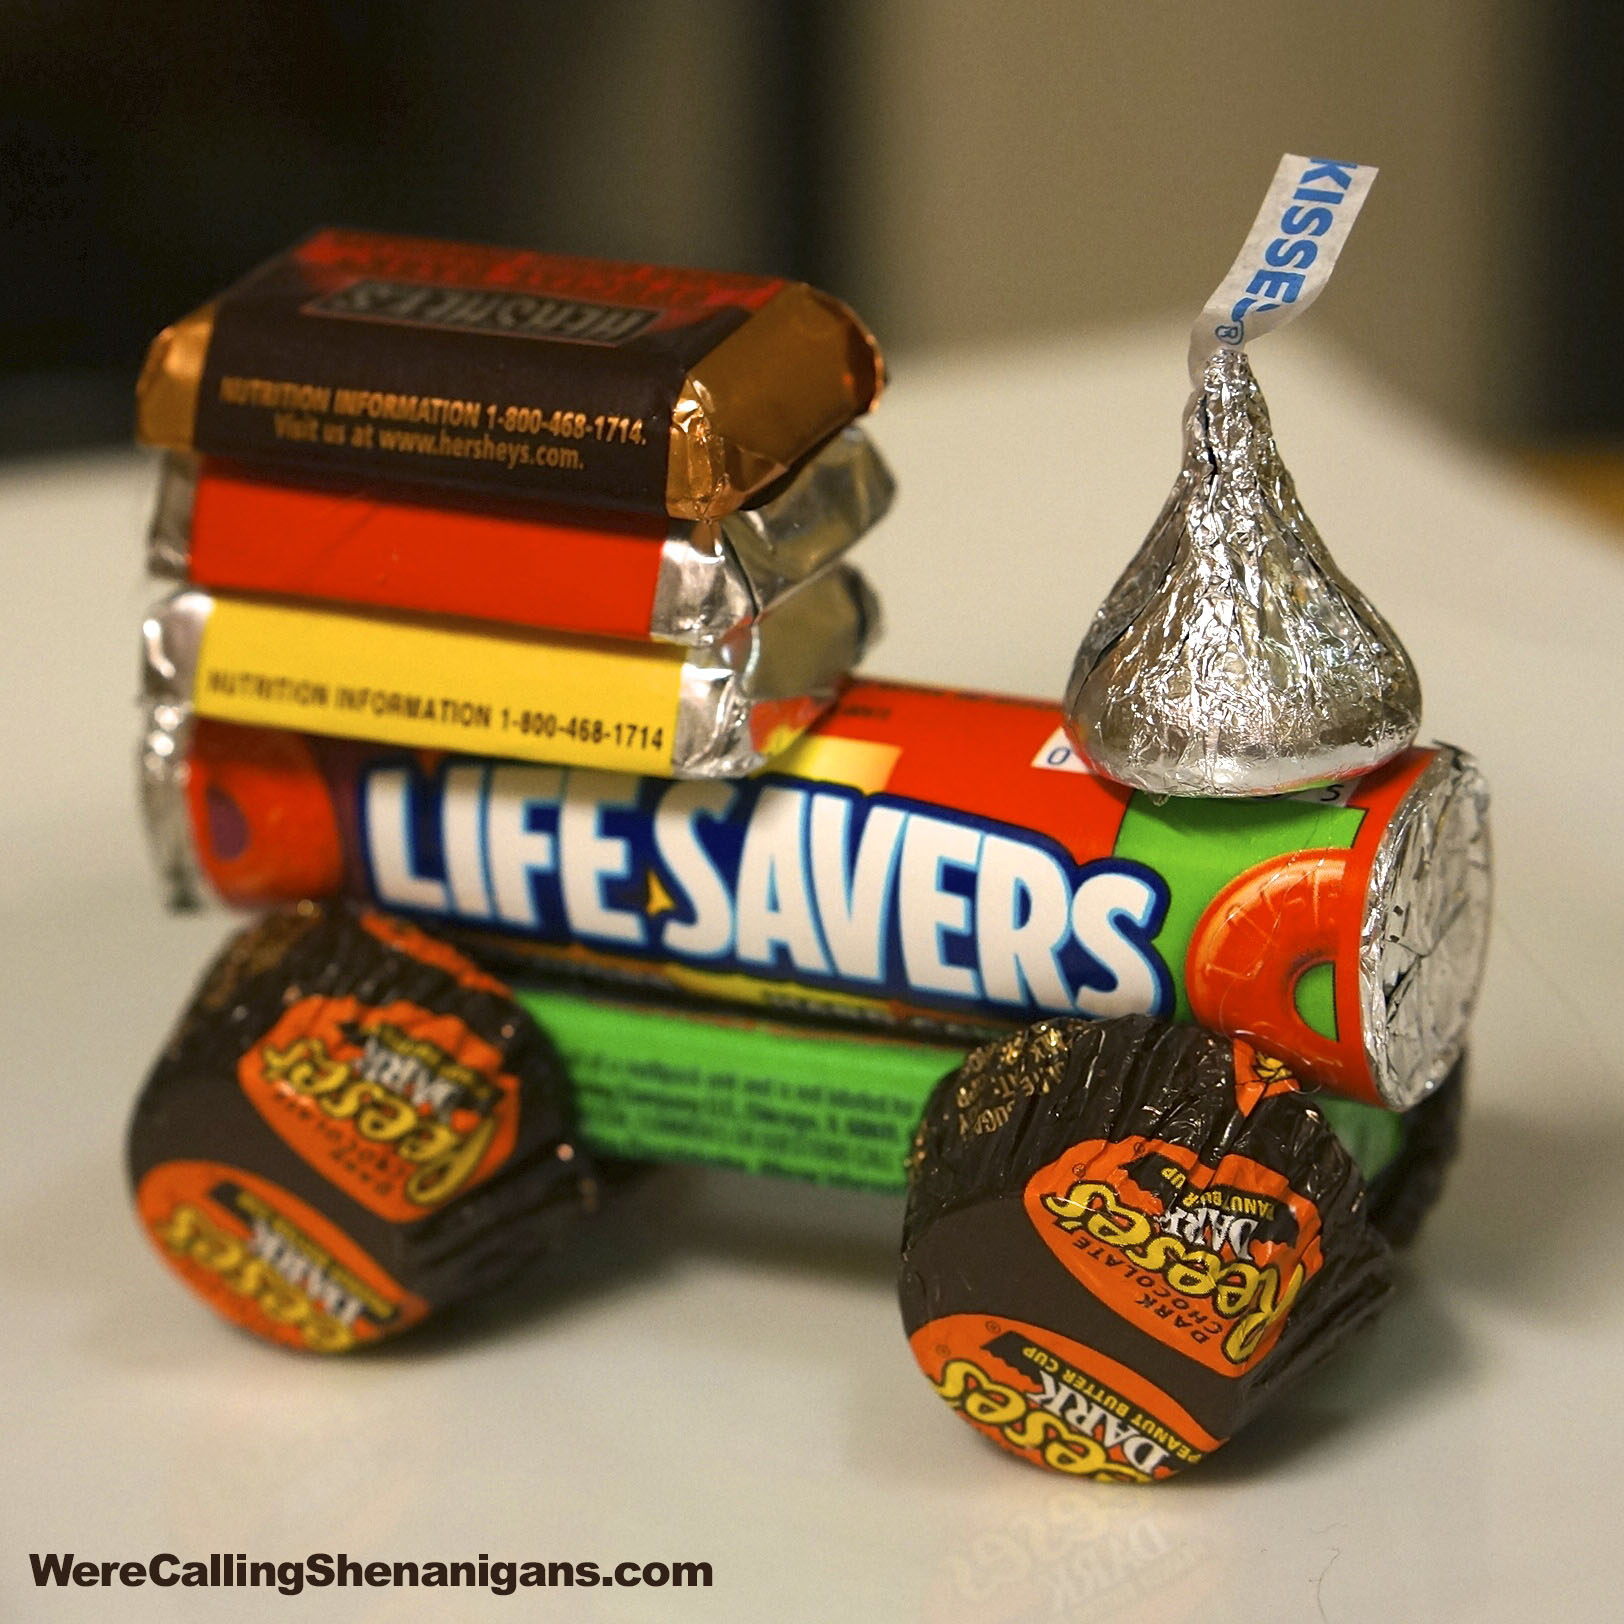
how to make Christmas Candy Train

{photo credit}
SEE DIRECTIONS HERE


22.
DIY Photo Coasters
from The Frugal Girls


{photo credit}
SEE TUTORIAL HERE


23.
FREE PRINTABLE
from Shanty-2-Chic


Free Printable Bible Verse


{photo credit}
GET FREE PRINTABLE HERE


24.
Button Word Pillow
seen on Etsy

Make or buy a plain pillow cover.
Sew or hot glue buttons on, using any word you please!
Add pillow!
LOVE Cushion Cover pillow, buttoned

{photo credit}
No tutorial. Just awesome inspiration!


25.
Pizza Money Gift
from Making Memories with Your Kids

Because sometimes it's just easier!
Type up your own sign or just write it on the lid.
Anyone should love this!

Money Gift Idea

{photo credit}
SEE HOW TO HERE


Don't forget to 'LIKE' Faithful Feat
to see more fun gift ideas every day!


~~~~
Be encouraged!
Be inspired!

Click below to join a virtual coffee break
for your homemakers heart!


~~~~

Tuesday, May 13, 2014

Refreshing Lemon Pie


This is an easy, taste of summer pie filling! An old stand-by in our family.

Refreshing Lemon Pie     (Print Recipe Here)

5 TBSP cornstarch
1 1/4 cup sugar
1/4 cup plus 1 TBSP cup lemon juice
3 eggs, separated
1 1/2 cups boiling water
Baked Pie Crust (single)
Whipped topping

Combine cornstarch, sugar, lemon juice and egg yolks.

Pour into boiling water. Reduce heat.

Stirring constantly, continue to boil gently, until thickened and clear looking. About 4-5 min.

Cool.

Pour into baked pie crust.

Top with cool whip, or using whites of eggs make meringue. Chill before serving.


"Taste and see that the Lord is good"
~Psalm 38:4~


Wednesday, April 9, 2014

The Best Homemade Bread Recipe and Tutorial


Many friends have asked for this recipe, so I thought I'd try my hand at a recipe tutorial. What lacks in photo quality and know-how, I hope is made up by humor and the finished product! ENJOY!

INGREDIENTS


The Best Homemade Bread  (Print Recipe Here)

1 cup lard or vegetable oil (I prefer lard)*
2/3 cup sugar
2 TBSP salt
2 cups applesauce (opt)**
5 cups whole wheat flour or oatmeal (today I chose wheat)
6 cups very hot water
2 TBSP dry active yeast
1 5lb bag white flour (may need a bit more)

Place lard/oil, sugar, salt, applesauce and wheat flour into a very large bowl.


Heat 6 cups water until very hot, but not boiling.


Pour all the water to the bowl.


Stir until sugar is dissolved and lard is melted.


 Let rest for 5-10 min. This is very important. Reason #1: wheat flour and oatmeal absorbs liquid. If you hurry on with the recipe your bread will very likely turn out dry and crumbly. LET IT REST. 

Reason #2: depending on the temperature of your mixture, it could ruin the yeast. Rule of thumb: If you can tolerate your finger in it for a good 5 seconds, your good to go!


Add 2 TBSP dry active yeast. Found in the Walmart baking isle usually above the flour.


Stir.

Then dump about half the bag of white flour in the mixture. Yes, I DUMP. Partly because it's faster, mainly because it's more fun that way! So dump away!


Stir and keep dumping in flour until the mixture is too stiff to stir effectively.


Now on to more dumping! Pour out all remaining flour onto a clean surface.


Play in it. You know you want to! Take as long as you'd like. I'll still be here, playing in mine! 


When you're done, roll the dough onto the floured surface. Scrape out the bowl. Doesn't have to be spotless because you're going to need it again in about 10 minutes.


Start playing!....err....kneading!


Halfway there...


Done! When the dough is elastic and smooth, you're finished. Or, when your hands are basically clean and the flour is mostly incorporated, you can stop kneading. You should reach this consistency after about 8-10 minutes of kneading. Nice little workout!


Now, back to your bowl. You can either splash some oil (2-3tbps) into it, or you can spread lard in it. I use lard.


 Place your dough into the greased bowl. Flip to coat.


Let it rise in a warm place for 1hr or until doubled. I turn on the oven light & let it rise in there. 

NOTE: DO  NOT  FORGET  YOU  PUT  IT  IN  THERE. I did and 1 1/2 hrs later.... well, have a look!


No worries though! It lifted right off and I proceeded like normal.

Now get out 6 loaf pans. I use large 9x5 pans. You'll need 7 or 8 if your pans are smaller.

Grease the pans. Again, I use lard. Non-stick spray works, too.


You know I'm going to play in it!


You'll also need to grease your counter top to avoid sticking.

Now tear off a large handful of dough and spread into a rectangular shape. Eyeball the width according to your pan size.


Start rolling it up!


Plop it into the loaf pan. Repeat until your dough is used up.


Now get a fork and jab it all the way into the loaves. This removes any air pockets and prevents any from forming while baking. I give each loaf a good 30 jabs.


Let them rise in a warm place for about 30 minutes or until almost doubled.

SET TIMER!!! This is more for me than you! Just saying!


Preheat oven to 350 degrees F.

Place loaves into oven. They will rise a bit more during baking.

Bake for 35-40 minutes or until golden brown.


Ding!! They are done!!

Remove from oven.

Butter the top of your loaves while they are hot. This will help keep the crust soft.


Let cool 10-15 minutes then flip them out onto the counter to finish cooling. Do not let them cool in pans. They tend to get soggy and stick to the pans.

ADMIRE! I wish I could insert a scratch and sniff sticker for you here.


If you were thinking about sinking your teeth into that yummy goodness, now would be the time!!! I had a little one who wanted some, too! 

After they have cooled, I store a few loaves in containers to use right away. What we won't use in 4-5 days, I wrap in saran wrap or leftover bread bags and freeze until we need them.


"Taste and see that the Lord is good"
Psalm 34:8


*Why I use lard: I can't explain in great detail because I'm not a health food guru, but it's healthier than your standard canola/vegetable oils. Something about hydrogenated oil...you might want to do some research. I have found lard at Dollar General and Fareway. If you're opposed to lard or can't find it, opt for coconut oil or a high quality grape seed oil. Lard keeps the bread moist. It also adds a fabulous flavor. "Just like grandmas!" people have said. Probably because that's what she used!

**Why I use applesauce: Applesauce allows me to cut down on the amount of sugar used. Original recipe called for 1 cup sugar. Applesauce also helps keep the bread moist. You don't have to add it, but try it once and you'll never bake bread again without it!

~Good Luck! Let me know how it turns out!


SHARED  WITH.....